Rail parts, filled left to right.
Rail by profile and length, blocks by cross-section, and the small parts that close a row: end stops, covers, jumpers and markers, ordered with the blocks and not after them.
Top-hat rail
two heights, whole bars, never cut here
| Profile | Bar lengths | Material and finish | Slotted or plain | Box |
|---|---|---|---|---|
| 35 × 7.5 mm | 1 m and 2 m | steel, zinc plated | slotted, or plain | 10 bars |
| 35 × 15 mm | 1 m and 2 m | steel, zinc plated | slotted, or plain | 10 bars |
| 35 × 7.5 mm | 1 m | aluminium, plain | plain | 10 bars |
| 35 × 7.5 mm | 1 m | stainless steel | slotted | 5 bars |
The rail on the sheet is the 35 mm top-hat profile that every block and every rail-clip box in this stockroom hangs on. It comes in two heights: 7.5 mm is the everyday rail for terminal blocks and small housings, and 15 mm is the stiffer section for long runs carrying heavy blocks or anything that gets pulled on. Both are slotted for fixing screws on a repeating pattern, or plain for a bench that drills its own holes.
Bars are one metre or two metres and ship whole. We do not cut rail, and the sheet says so rather than waiting for the question: a cut bar is a machining job and a machined edge needs deburring, and both belong to the workshop that fits it. Zinc-plated steel is the stock finish; aluminium is carried for weight and stainless for a wet cabinet, each in one length.
Rail is the one family on this site that is not sold by the box but by the bar, and a single bar is an order. Ten bars still travel as a bundle, and a pallet is quoted from forty bars up.
Rail terminal blocks
by cross-section, then by clamp, then by type
| Cross-section | Width per block | Clamp | Types carried | Colours | Box |
|---|---|---|---|---|---|
| 2.5 mm² | 5.2 mm | screw | feed-through, earth, disconnect | grey, blue, green-yellow | 50 pieces |
| 2.5 mm² | 5.2 mm | push-in | feed-through, earth, double level | grey, blue, green-yellow | 50 pieces |
| 4 mm² | 6.2 mm | screw | feed-through, earth, fused | grey, blue, green-yellow | 50 pieces |
| 6 mm² | 8.2 mm | screw | feed-through, earth | grey, green-yellow | 50 pieces |
| 10 mm² | 10.2 mm | screw | feed-through, earth | grey, green-yellow | 25 pieces |
| 16 mm² | 12.2 mm | screw | feed-through, earth | grey, green-yellow | 25 pieces |
A rail block is listed first by the largest conductor it clamps, then by the clamp itself, then by what it does. The cross-section column is the maker's figure for a single solid or ferruled conductor; the width column is what the block takes up on the rail, and it is the figure the rail-fill tool at the foot of this page works from.
Screw blocks and push-in blocks of the same cross-section are different families, with different covers, jumpers and markers, and the sheet keeps them on separate lines for that reason. Feed-through is the plain block; earth blocks are green and yellow and clamp to the rail as their conductor; disconnect blocks carry a knife; fused blocks carry a cartridge; double-level blocks stack two circuits in one width.
Colours are the maker's mouldings: grey for the ordinary line, blue where a neutral is to be picked out, green and yellow for earth. The maker's current and voltage figures are printed on the block's side and are quoted as printed.
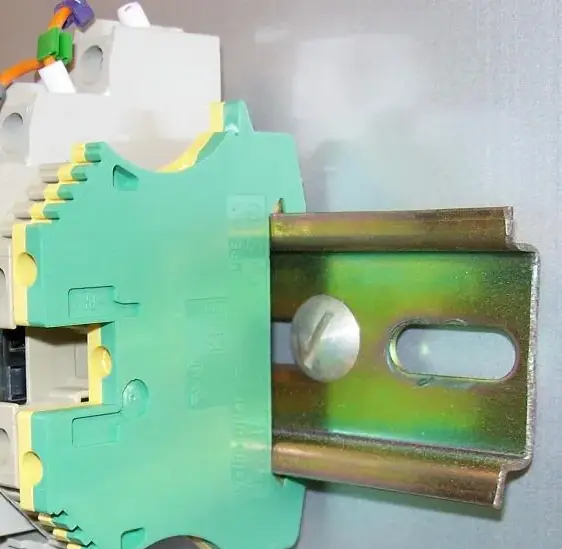
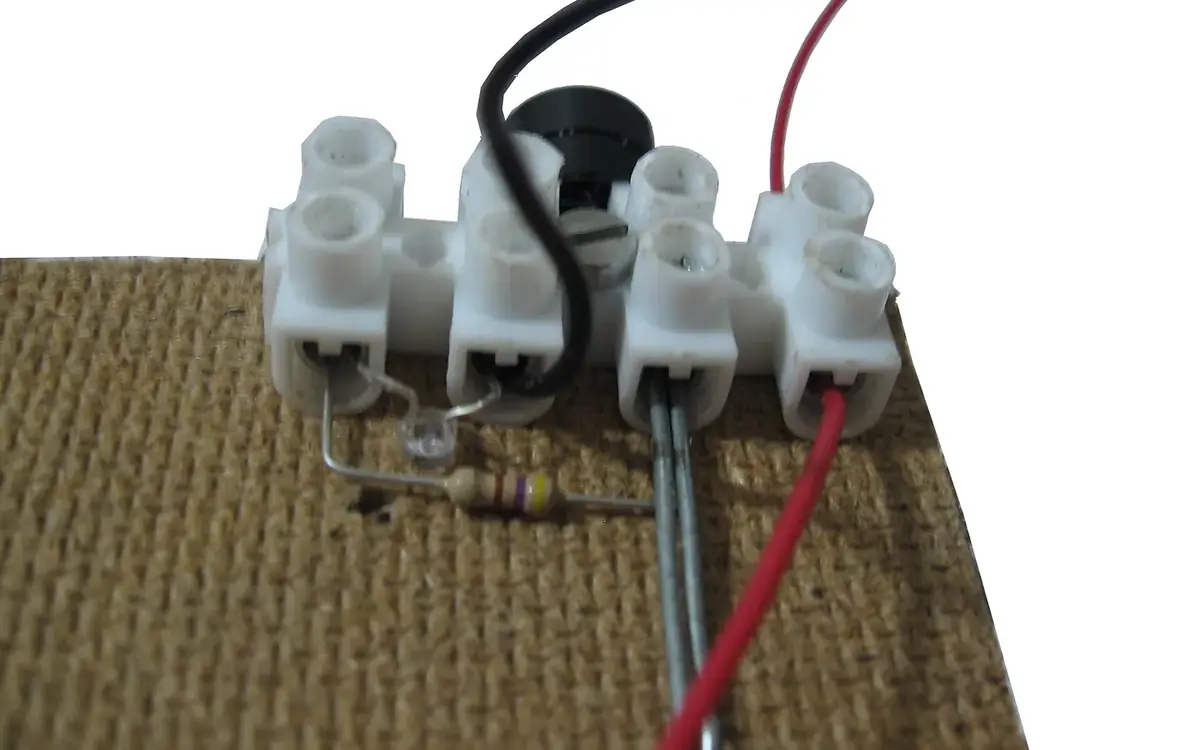
End stops, covers, partitions, jumpers
the parts that make a row a row
| Part | Fits | Fixing | Poles or size | Box |
|---|---|---|---|---|
| End stop, screw clamp | 35 mm rail, both heights | one screw | 9.5 mm wide | 50 |
| End stop, screwless | 35 mm rail, 7.5 mm height | spring clamp | 6 mm wide | 50 |
| End cover | each block family | clips to the last block | matches block width | 50 |
| Partition plate | each block family | slides between blocks | 2 mm thick | 50 |
| Jumper bar, insertable | each block family | pushes into the centre slot | 2, 3, 4 or 10 pole | 20 |
| Jumper bar, screw type | screw blocks of one family | under the terminal screw | 2 or 3 pole | 20 |
A run of blocks on a rail is not finished until it is closed at both ends and covered on its open face. An end stop clamps to the rail on each side of the run and stops it walking; an end cover clips to the last block and closes the live face that its neighbour would otherwise have covered. Partition plates go between groups; jumper bars link poles that carry the same potential.
All of these belong to a block family. An end cover for a 5.2 mm screw block does not fit a 5.2 mm push-in block, and a jumper for one maker's centre slot does not push into another's. That is why the sheet says fits each block family rather than a width, and why the quote lists these parts on lines directly under the blocks they belong to.
The end stop is the exception: it fits the rail, not the block, and a screw-clamp stop fits both rail heights. The screwless stop is quicker and fits the 7.5 mm rail only.
Marker strips
ordered with the blocks, never after them
| Strip | Fits | Printing | Box |
|---|---|---|---|
| Printed, one to ten | each block width | black on white, one number per pole | 10 strips |
| Printed, eleven to twenty and onward in tens | each block width | black on white, sequence continues | 10 strips |
| Printed, L1 L2 L3 N PE | each block width | black on white, repeated | 10 strips |
| Blank | each block width | unprinted, for a hand or a label printer | 10 strips |
A marker strip is a snap-in carrier that sits in a groove on top of the block, one number per pole. The carrier's pitch is the block's width, so a strip for a 5.2 mm family is a different part from a strip for a 6.2 mm family, and neither fits the other. That is the whole reason markers are ordered with the blocks: the strip that fits is decided by the block family on the line above it, and a strip ordered afterwards from memory is very often the wrong one.
Printed strips carry a sequence of ten, and the sequence continues across strips so a run of thirty poles takes three strips and reads one to thirty. Phase and neutral strips repeat their letters. Blank strips are carried for a bench with its own label printer, and the maker's own printable sheets are ordered in on request.
Nothing on this page is printed to order by us; printing is a workshop job, like drilling. What we do is make sure the strip on the quote is the one that snaps into the block on the quote.
How a rail fills, left to right
the order a panel builder loads it, and a tool for the count
- Fix the rail through its slots, on a flat back plate, with the open side of the hat facing out.
- Clamp an end stop at the left-hand end. Everything that follows presses against it.
- Load the blocks in circuit order, sliding each onto the rail and pressing it against the last, feed-through and earth blocks in the sequence the drawing gives.
- Drop partitions between groups as you go; they slide in from the top and are difficult to add later.
- Push in the jumpers where poles share a potential, from above, before the covers.
- Clip on the end cover to the last block of each family, then clamp the right-hand end stop against it.
- Snap in the marker strips last, reading left to right, because a numbered strip fitted before the run is closed is a strip fitted twice.
Rail-fill count
Arithmetic on the figures you type: the rail length less two end stops and any partitions, divided by the block width. Nothing here is a stock figure; take the widths from the sheet.
A part list for a rail, then, reads top to bottom the way the rail reads left to right: rail, end stops, blocks by family and type, partitions, jumpers, end covers, markers. Send it in that order or in any order; the quote comes back in this one. Ask for a price on a part.